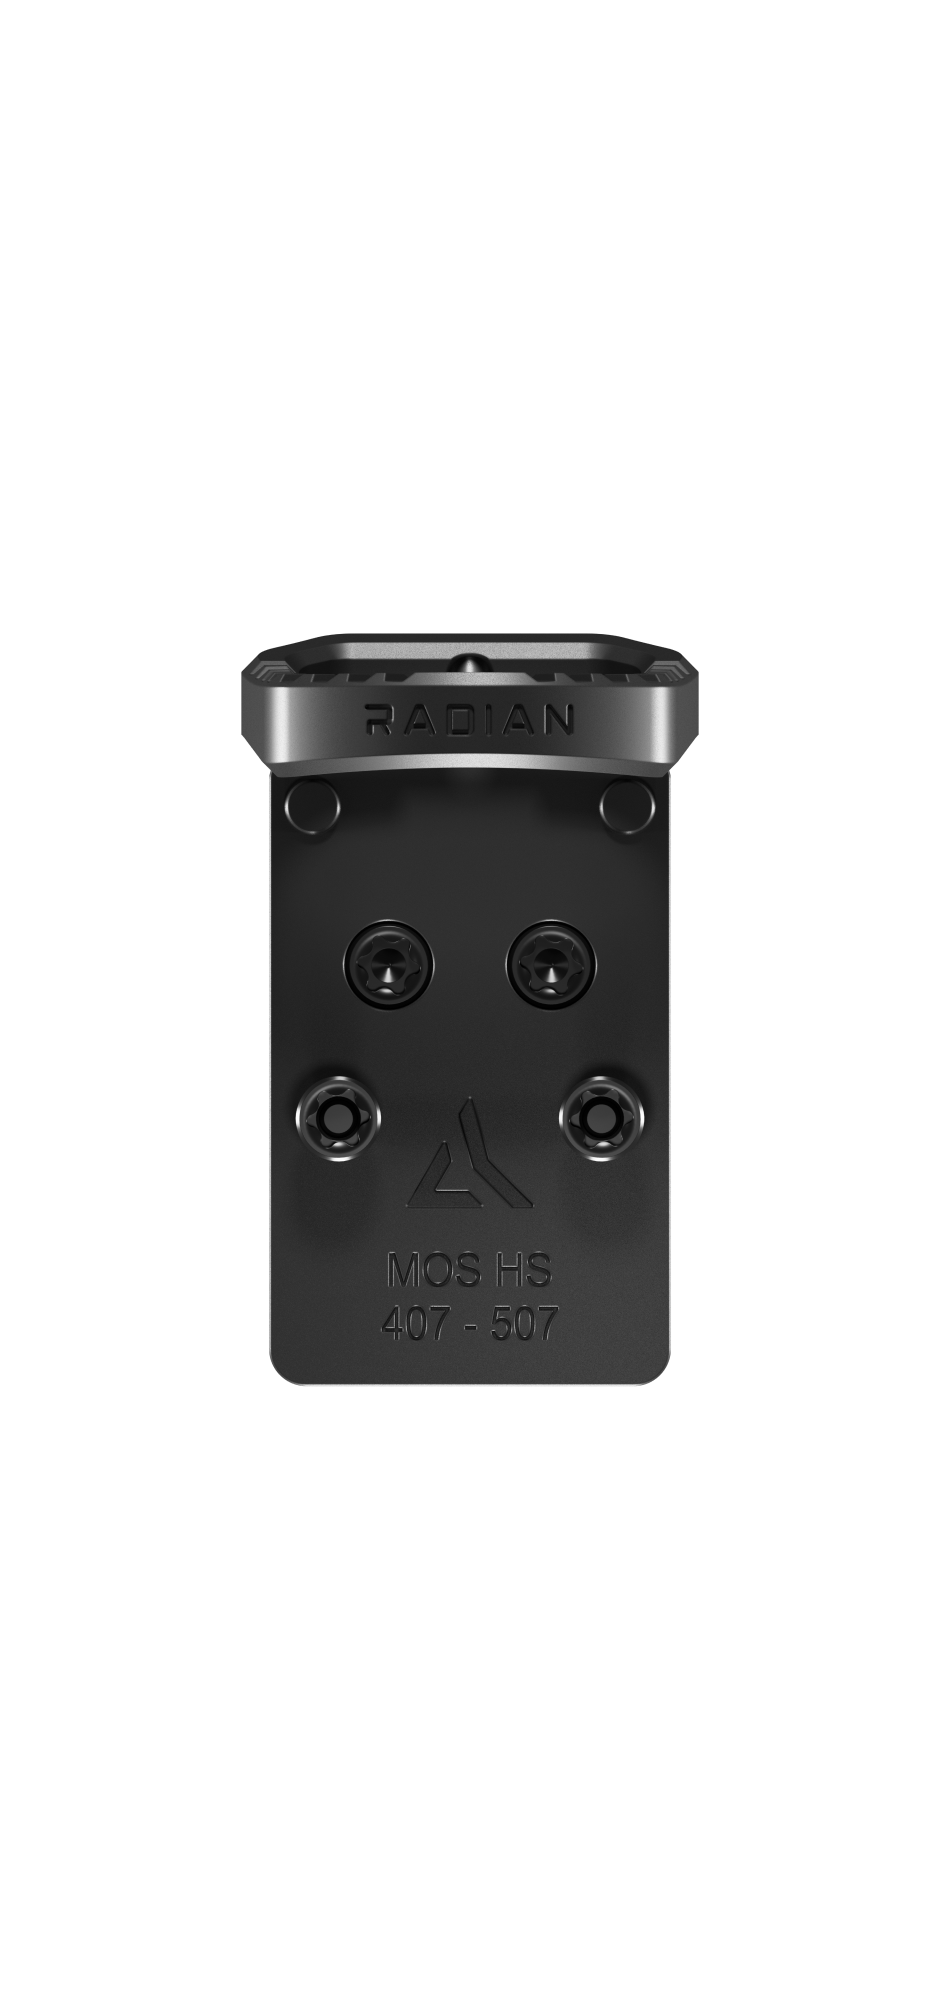

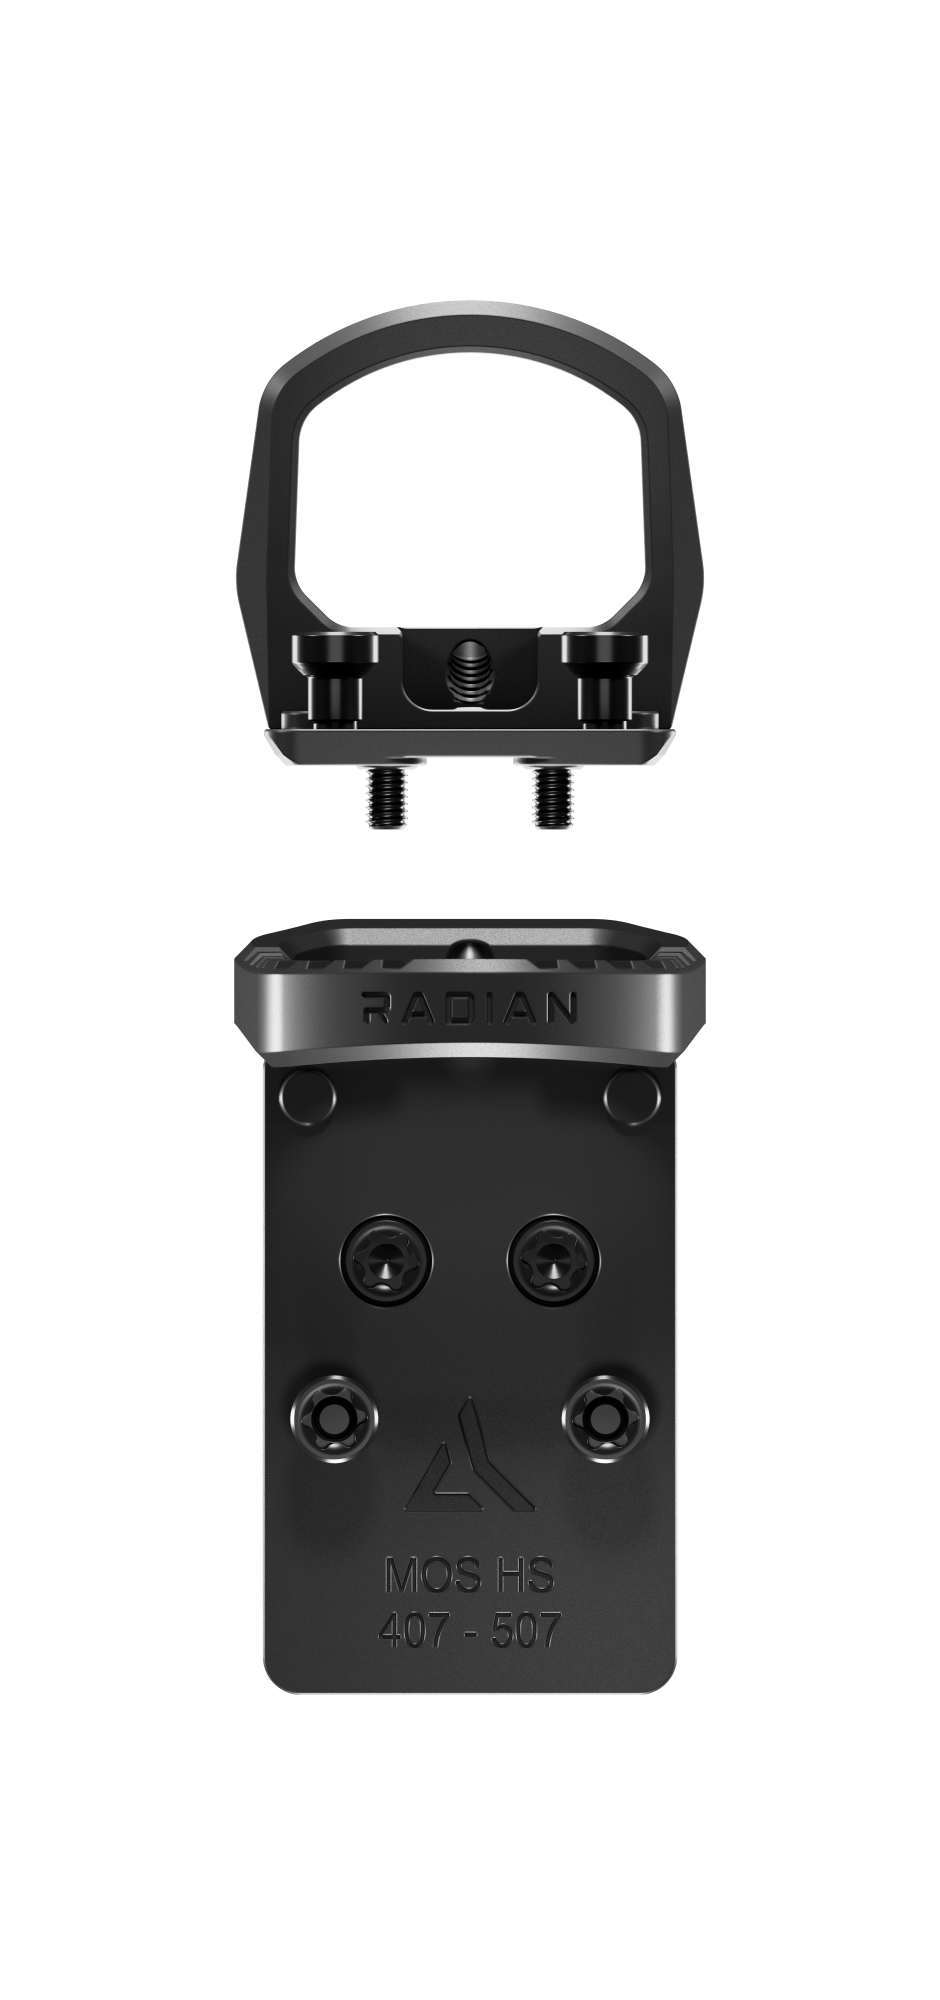
Glock MOS - 407-507 GUARDIAN Optic Guard
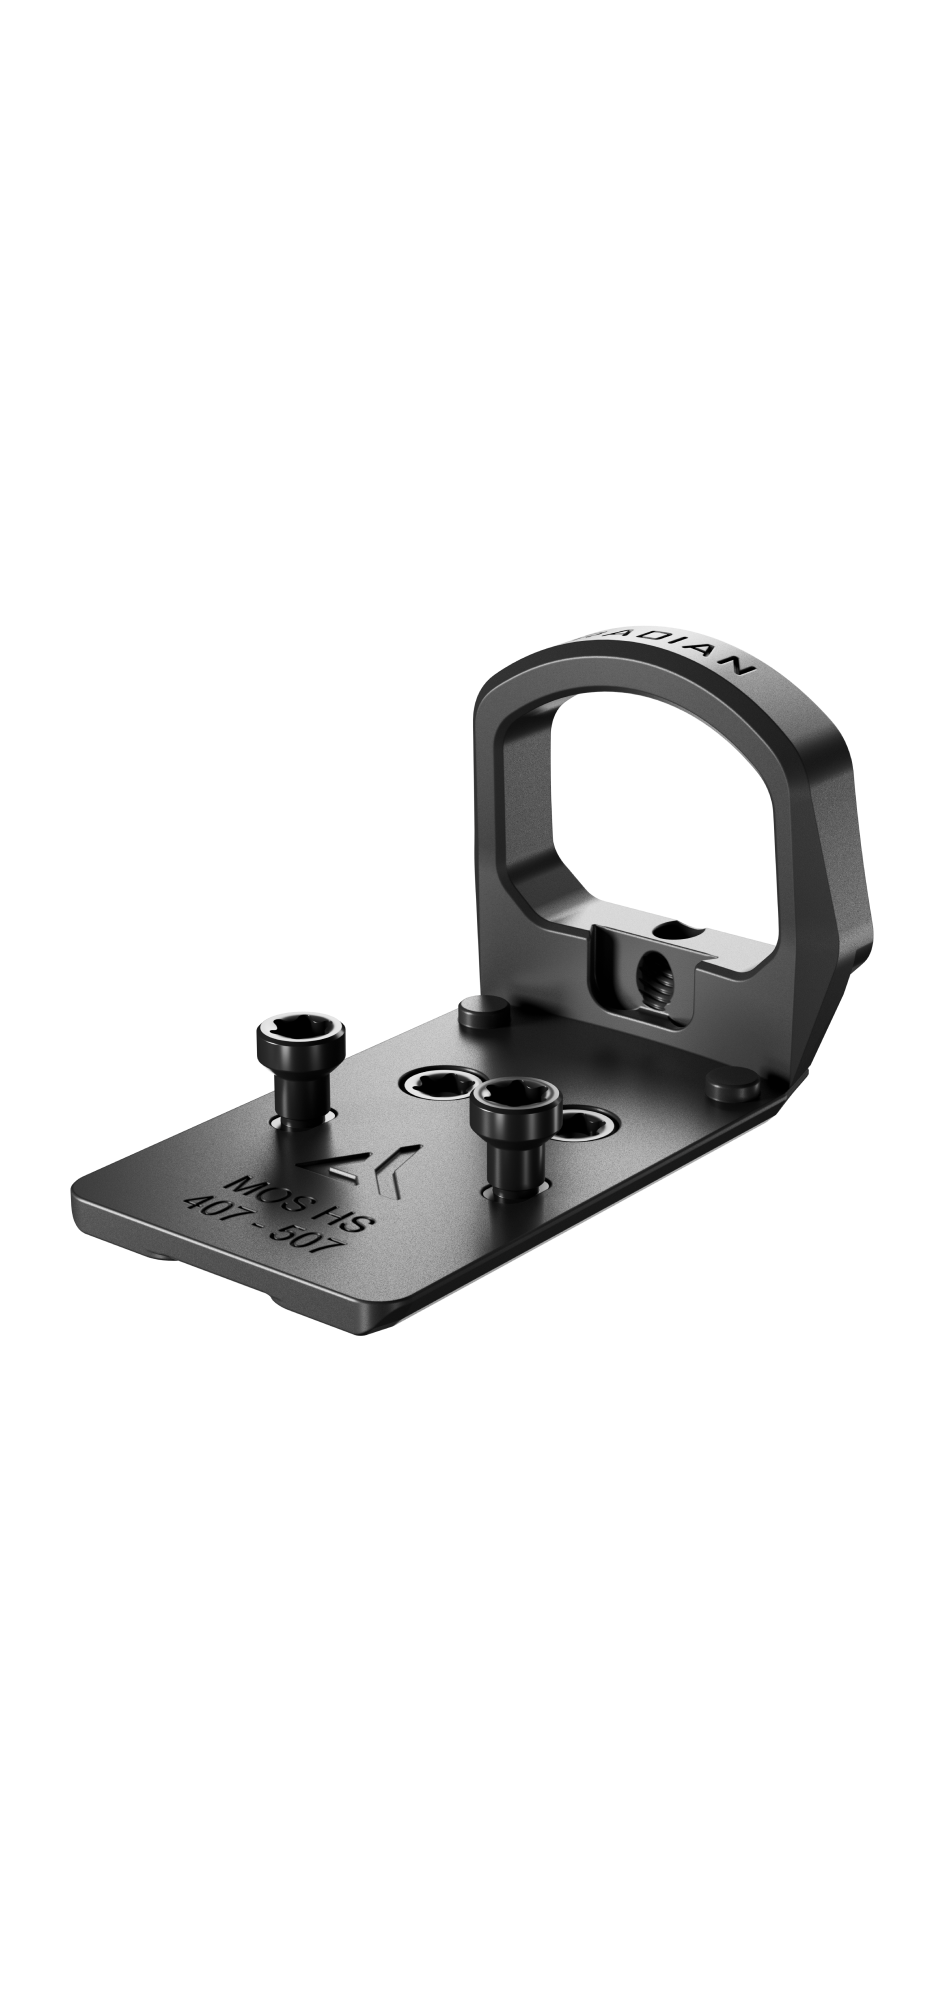
GUARDIAN™OPTIC MOUNT & GUARD
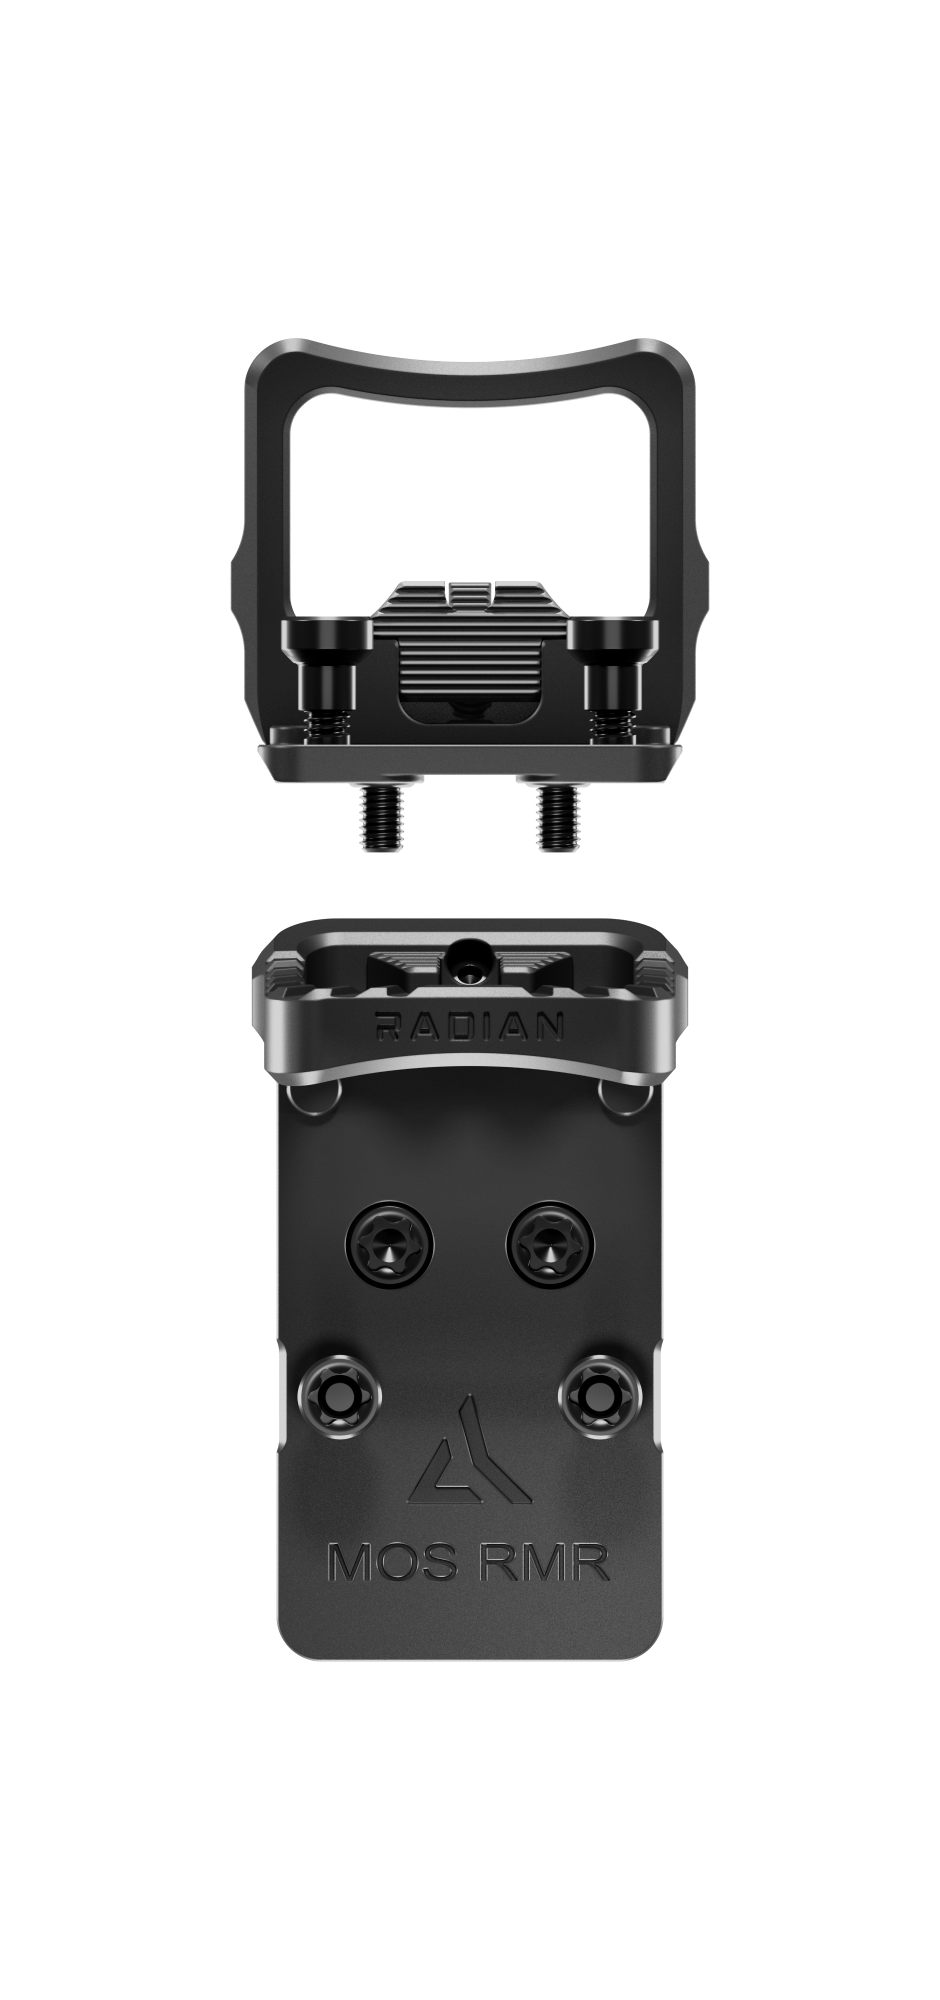
The GUARDIAN is the strongest optic mounting system on the market. TRU-SEAL™ eliminates the need for an added sealing plate. 0-rings on the mounting screws hold the plate watertight to the slide, sealing out moisture, eliminating corrosion in the mounting threads. Our STUD-LOK™ threaded stud/nut mounting interface is the most secure system on the market. This provides much longer thread engagement, greater hold down power, with increased shear resistance.
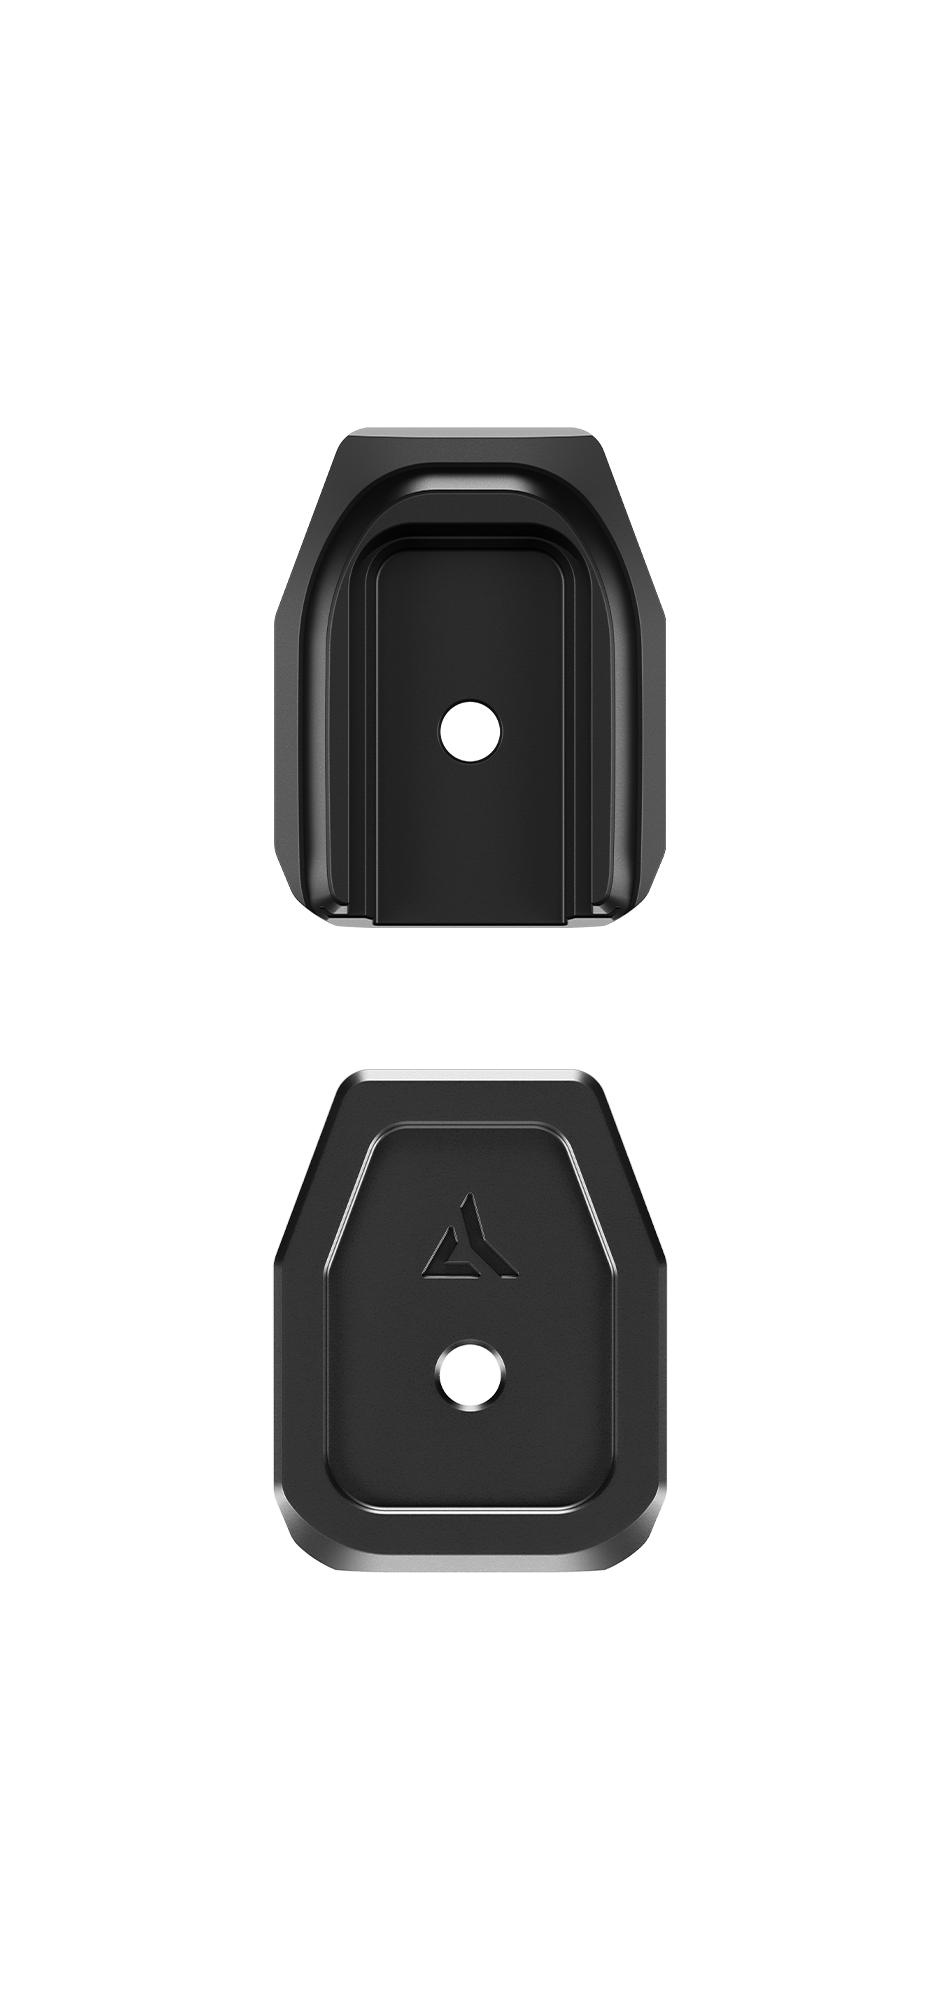
SIX™ BACK-UP SIGHTS
SIX™ back-up sights (BUS) seamlessly integrate into the Guardian Optic Mounting System providing rapid, reliable, and precise target acquisition in scenarios of red dot optic malfunction. Featuring anti-glare, anti-snag and ultra low co-witness design, SIX™ sights lie inconspicuously in wait until you need to deploy them. Like a wingman when things aren't going as planned, SIX™ has your six.
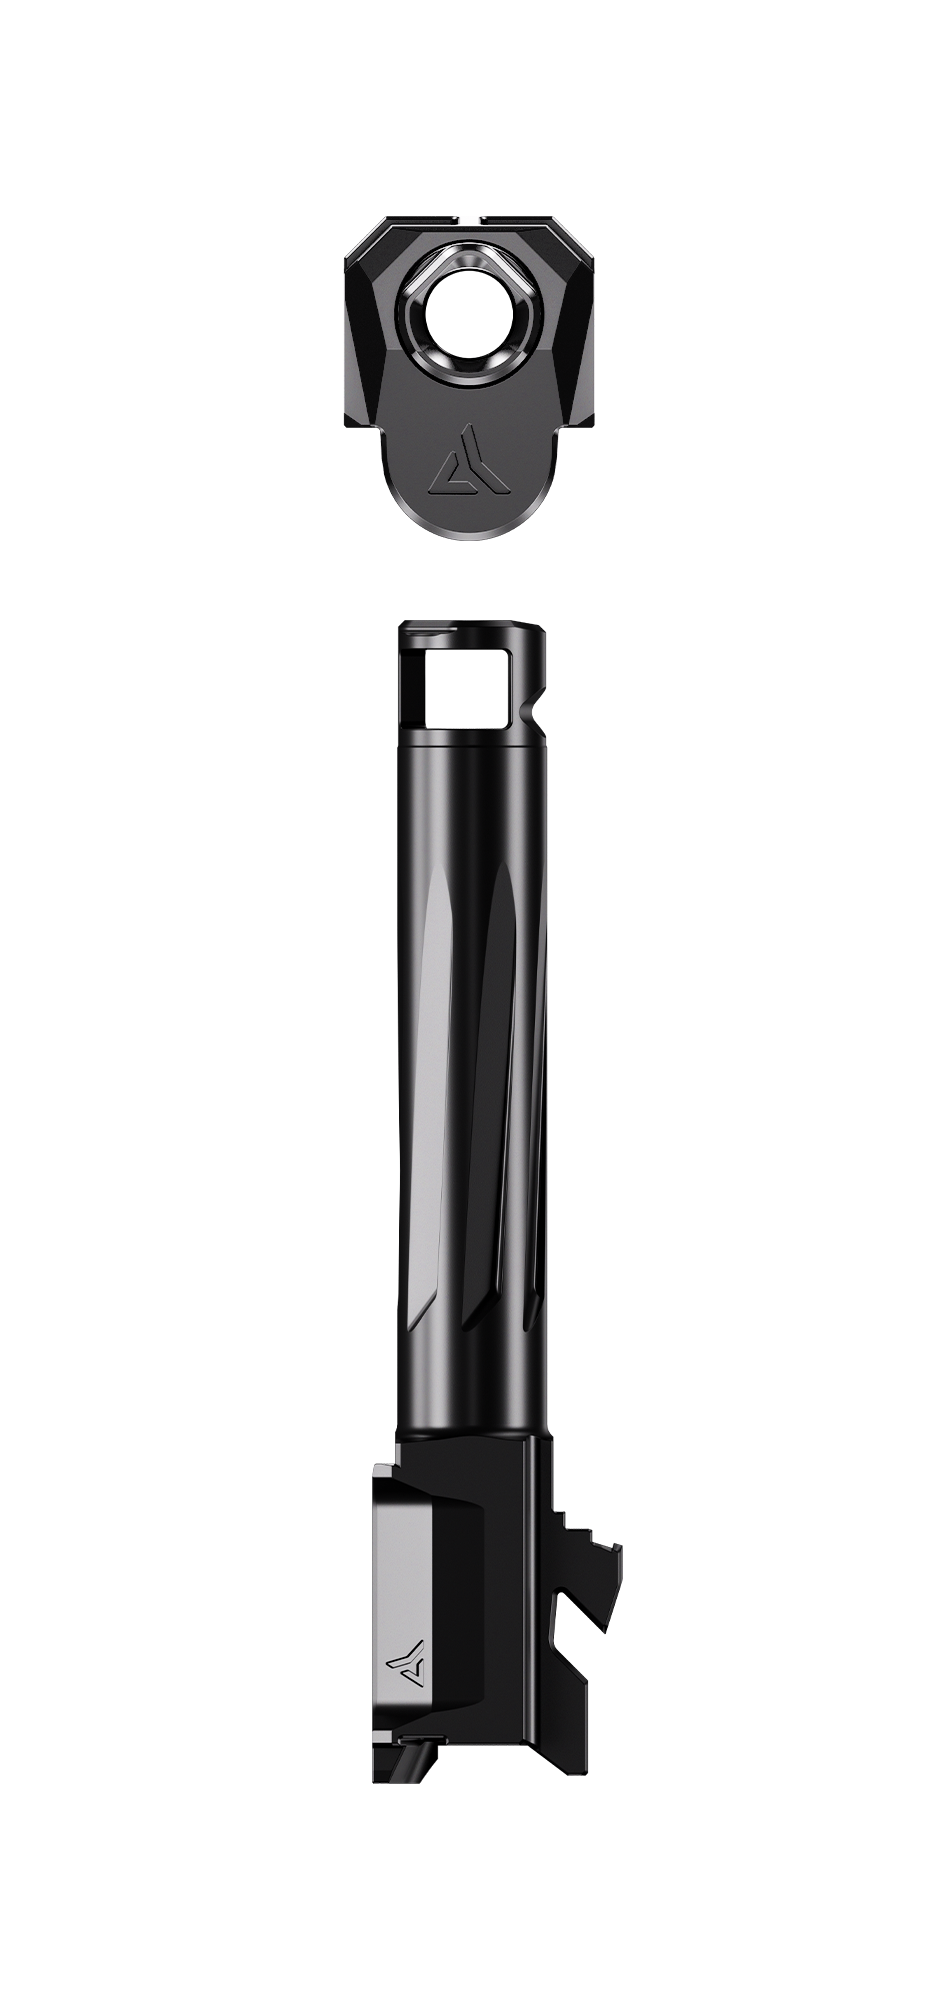
THE PISTOL
EVOLVED
TECH SPECS
MATERIALS
7075 Aluminum Type Ill Hard Anodized Guard/Plate
Custom Machined SS Fasteners with Oversized Torx Sockets
WHAT’S INCLUDED
1 – GUARDIAN™ Optic Mount and Guard Plate
2 - Plate Mounting Screws
2 - TRU-SEAL™ O-Rings
2 - STUD-LOK™ Studs
2 - STUD-LOK™ Self-Locking Sleeve Nuts
INSTALLATION INSTRUCTIONS
GUARDIAN INSTALLATION INSTRUCTIONS
STEP 1 | To install the STUD-LOK™ studs, flip the Guardian plate upside down and insert studs into their openings. The STUD-LOK™ studs should then be rotated until alignment allows them to sit flush with the bottom surface.
STEP 2 | Once the STUD-LOK™ studs are in place, the Guardian plate (still being held upside down) can be placed onto the optic cut of your pistol slide. While holding the Guardian in place, the pistol slide can now be rotated back into upright orientation.
STEP 3 | Install the TRU-SEAL™ O-Rings over the threads of both torx screws until they seat up against the screw head before installation (thread locker has been preapplied to the screws).
STEP 4 | Apply light rearward pressure to the plate to ensure contact with the rear wall of the optic cut, then torque the screws to 15 in/lbs using the provided T25 torx bit.
STEP 5 | Place the optic over the STUD-LOK™ studs on top of the Guardian plate.
STEP 6 | Finger tighten both STUD-LOK™ sleeve nuts on the STUD-LOK™ studs.
STEP 7 | Torque the STUD-LOK™ sleeve nuts to 15 in/lbs using the provided T25 Torx bit.
CAGE CODE
8BMX3
EXPLORE THE
GUARDIAN + SIX